Azure AppService PHP 8.1 & NGINX With WordPress
As of 28th November 2022, PHP 7.4 reached end of life. Windows-based Azure App Services don't support PHP 8.1, so the migration path is to Linux with PHP 8.1 — which uses NGINX rather than Apache.
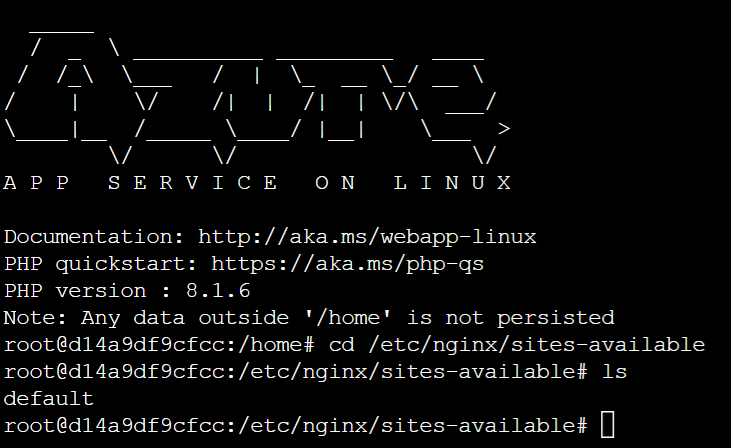
The catch: WordPress relies heavily on .htaccess rewrite rules for permalink handling, and NGINX doesn't support .htaccess at all. You need a server-level NGINX config.
The Approach
Use a custom startup shell script to:
- Copy a custom NGINX config into place
- Reload NGINX
This means configuration lives in your repo (under /home/startup/) and survives App Service restarts.
Directory Structure
/home/startup/
├── startup.sh
└── nginx-conf/
    └── nginx.conf
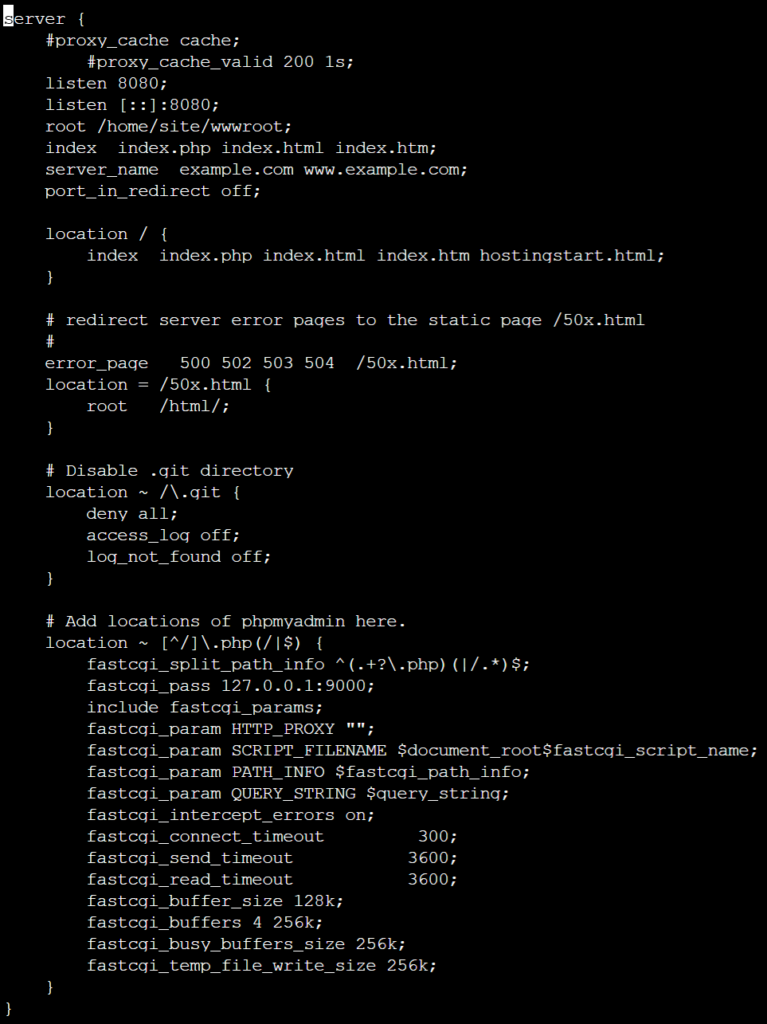
nginx.conf
A WordPress-ready NGINX config based on NGINX's official WordPress recommendations:
server {
    listen 8080;
    listen [::]:8080;

    root /home/site/wwwroot;
    index index.php index.html;

    client_max_body_size 256M;

    location / {
        try_files $uri $uri/ /index.php?$args;
    }

    location ~ \.php$ {
        include fastcgi_params;
        fastcgi_intercept_errors on;
        fastcgi_pass 127.0.0.1:9000;
        fastcgi_param SCRIPT_FILENAME $document_root$fastcgi_script_name;
    }

    location ~* \.(js|css|png|jpg|jpeg|gif|ico|svg|woff|woff2)$ {
        expires max;
        log_not_found off;
    }

    location = /favicon.ico {
        log_not_found off;
        access_log off;
    }

    location = /robots.txt {
        allow all;
        log_not_found off;
        access_log off;
    }

    location ~ /\. {
        deny all;
    }
}
The key WordPress line is try_files $uri $uri/ /index.php?$args — this replaces the .htaccess rewrite rules that WordPress normally uses for permalink routing.
startup.sh
#!/bin/bash

# Deploy custom NGINX config
cp /home/startup/nginx-conf/nginx.conf /etc/nginx/sites-available/default

# Reload NGINX to apply changes
service nginx reload
Make the script executable:
chmod +x /home/startup/startup.shWiring It Up
In the Azure portal, navigate to your App Service → Configuration → General settings → Startup Command and set:
/home/startup/startup.sh
App Service will run this script on every start/restart before serving traffic.
See also: Setting PHP.ini Config In Azure App Service PHP 8.1 / NGINX for customising PHP settings in this same setup.